If you have been recently scouring the world wide web to find out whether WordPress is a good fit for your business, you would have come across the term “plugin”. It is not just a new term that you’d need to learn more about when you are obtaining further knowledge about WordPress, but it is also an important component of the WordPress ecosystem.
We’ll be answering a few questions regarding plugins. We’ll also talk about how to install and update plugins in WordPress.
WordPress Plugins – About, Installation and Updating
What are plugins?
In WordPress, plugins are pieces of software that add or extend the functionality of the website. You can choose from thousands of free and paid plugins available in the WordPress plugin directory.
How do plugins work?
In layman’s terms, plugins are like the apps found on our smartphones. Just as we download apps onto our mobile devices to add new enhancements (such as being able to play games or improve productivity), we also “plugin” plugins for WordPress to augment or widen the functionality of a WordPress website.
There is a plugin for almost anything on WordPress. There are plugins to create contact forms to improve the website’s load speed and improve the website’s load speed set up an e-commerce store.
Every installed plugin is recorded in the WordPress register. You can activate or deactivate plugins according to your convenience. When you log into your WordPress dashboard, WordPress connects to the database, loads the main software and the active plugins onto the user’s computer.
How to install a WordPress plugin?
There are three ways of installing a plugin.
- Automatically install plugins from the plugin directory
- Manually install plugins by uploading the file
- Manually install a plugin using FTP (File Transfer Protocol)
Let’s review each of the options in detail.
Install plugins from the plugin directory
This is the easiest way of installing a plugin in WordPress. The steps are as follows:
- Log in to your WordPress dashboard.
- From the left-hand menu, select Plugins and then Add New.
- Browse through the directory, or use the search box in the top right corner.
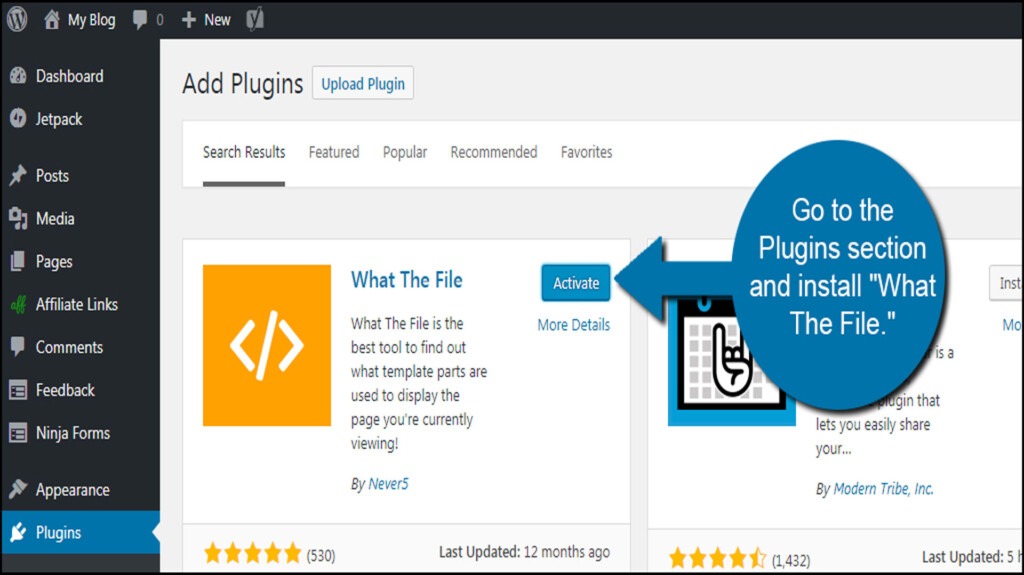
- Click on the Install Now button after you get your desired plugin.
- After the installation is complete, you can either click on the Activate button. If you prefer activating the plugin later, you can always do that by going to Plugins and then choosing the Installed Plugins option.
One of the shortcomings of automatic installation is that it doesn’t grant the user access to paid plugins. Users can only install free plugins using this technique.
2. Manually install plugins by uploading the file
This method is applicable to instances when a user needs a paid plugin from either the WordPress directory or third-party sources. Here is the process:
- Download the plugin from either the WordPress website or a reliable third-party website.
- Log in to your WordPress dashboard and select Plugins > Add New.
- Click on the Upload Plugin button found at the top of the page.
- Click on the Choose File button, select the .zip file and then click on the Install Now button.
- Click on the Activate Plugin button.
3. Manually install a plugin using FTP (File Transfer Protocol)
This method is applicable in extremely rare cases when the hosting provider has certain file constraints that inhibit you from uploading and installing a plugin from the dashboard. Here are the steps:
- Download the plugin from either the WordPress registry or trusted third-party sources. The downloaded file will be in the .zip format.
- Unzip the plugin file (aka extract the files). The folder will bear the same name as that of the .zip file.
- Connect your WordPress website’s server with FTP. You can opt for a free or paid FTP client software that will do this for you.
- After opening the FTP client, connect to your website using a username and password that will be provided by your hosting platform. If you don’t have the necessary credentials, contact your hosting service.

- Open the wp-content folder and then the plugins folder in your WordPress file directory.
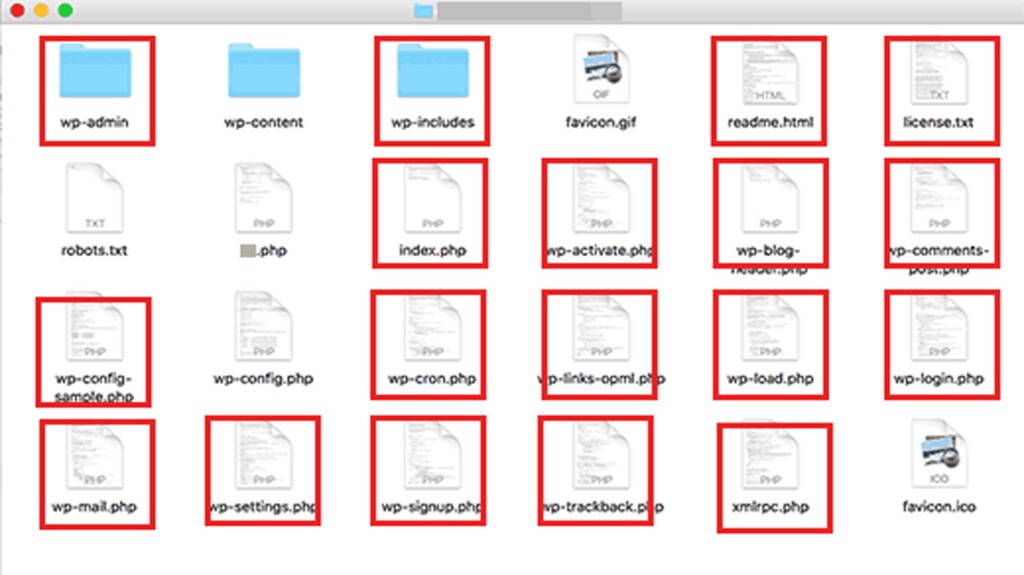
- Transfer the unzipped plugin folder to the plugins folder.
- Go back to your WordPress folder. Select Installed Plugins from the Plugins option.
- Click on the Activate button.
As you can see, this is the least beginner-friendly option available.
After installation, configure the plugin settings.
How to update a WordPress plugin?
Plugins are generally developed by third-party sources. The developers regularly update the plugins for the following reasons-
- Either improve the quality of the program.
- To add new functionalities.
- To include security patches that tackle any susceptibilities and issues that could be (or has been) exploited.
A word of caution: Unless the version info specifically mentions that it is a security patch, we’d suggest that you wait for a week before updating the plugin. This gives the developers time to catch and correct any errors.
WordPress lets you update plugins using the following methods:-
- Opt-in for automatic updates.
- Manually update individual plugins
- Manually update plugins in bulk
Automatic updating
Administrators now have the opportunity to opt-in for automatic updates from WordPress 5.5 version onwards. Automatic updating happens twice a day and is applicable for both plugins and themes.
To opt-in for auto-updating,
- Click on the Appearance option from Menu.
- On the Appearance page, navigate to the Plugins screen.
- There is an individual Enable auto-updates option for each plugin. Click on this link to auto-update a specific plugin.

- On the other hand, you can auto-update plugins in bulk. This is done by –
- Select multiple plugins using the checkboxes adjacent to the plugin name.
- Use Bulk actions from the drop-down menu located on top of the table.
- Choose Enable Auto-updates from the drop-down menu.
- Click on the Apply button.
2. Manually update individual plugins
WordPress has a system to automatically check and display notifications to the user of any new updates available.

You can also check out the updates by selecting the Updates option in the dashboard menu. This is a general page that shows updates for the core software, themes, and plugins.
If you just want to update plugins, you’ll see notifications on the Plugins menu.
How to update plugins from the Plugins page:
- Select the Plugins menu from the dashboard.
- Click on the Update now link that is shown under the available plugins.
3. Manually update plugins in bulk
Conversely, if you have multiple plugins that need to be updated, you can use the following steps –
- Click on the Plugins menu from the admin dashboard.
- Click on Update Available which is right on top of the page. This page will show all the updates that are currently available.
- Select the ones you want to update in bulk (or select all) using the checkboxes.
- Click on the Bulk Actions drop-down menu and choose Update.

If you are confident that the plugins you have installed are from reliable sources and won’t cause your WordPress website to misbehave, you can opt for the auto-update option. Nonetheless, we’d recommend that you select the auto-update option for only a select few plugins, and manually update the rest of the plugins.
This concludes our post on how to manage WordPress plugins. If you have any queries or would like to share any additional tips, drop us a comment below.


